RAW processing in ACDSee hits a little different than some other RAW processors. In most RAW software, the processing engine applies a default preset to the RAW file. In many cases, this immediately gets the photo to a stage where it’s usable.
If you’re in a rush, you can import the RAWs, let the software apply its default preset, and immediately export the JPGs. Simple. Got a bunch of party snaps you want to share on FaceBook the minute you get home? Done in one. Just home from a holiday and want to quickly look through all your photos on your big-screen laptop? Done.
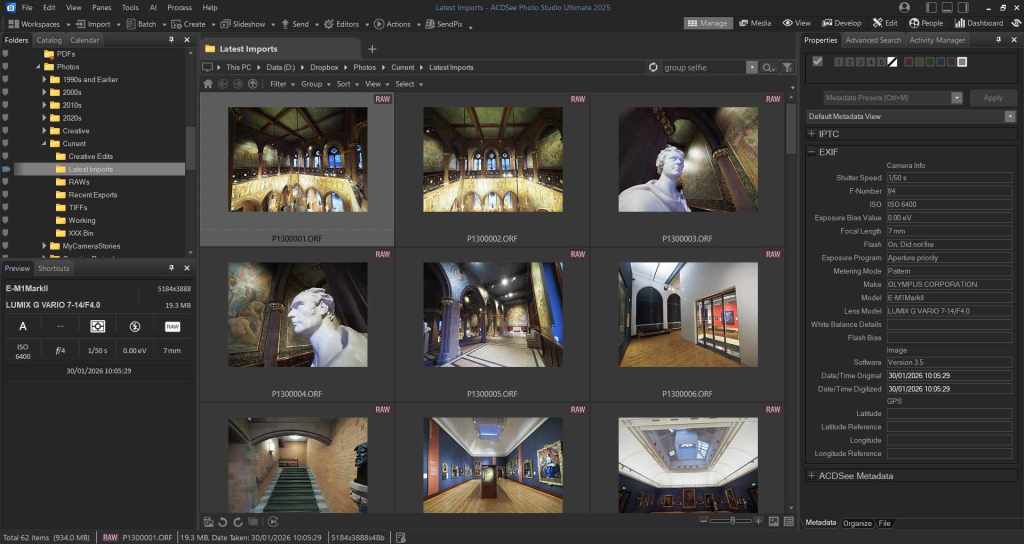
Lightroom works that way. So does On1 Photo RAW, RAW Therapee, and DxO Photolab. Lots of RAW software works like that. But not ACDSee Photo Studio. In ACDSee you import your RAW files, and ACDSee does absolutely nothing to them.
Of course, look in the Develop module and there are lots of presets in ACDSee. Look more closely and you’ll see that they work quite differently from the presets in most other applications.
Sure, there are lots of presets, but they’re mostly designed around a specific task: add clarity, add a vignette, denoise, add punch. And again unlike other RAW developers, the presets are additive. Add a new preset and – unlike most software – it doesn’t replace the previous preset, it stacks on top of it.
All of this behaviour is by design. ACDSee Photo Studio starts you off with a relatively neutral, low-contrast rendering rather than a punchy, ready-made look, so the image can appear a little flat at first. The upside is that you retain full control over how the photo is shaped; the downside is that if you want a quick, reliable starting point that will give you a usable result straight away, you’ll need to create it yourself.
Well, I’ve been thinking about this a lot recently so over the last few weeks I’ve been working on a preset for the Olympus OM-D ME10 Mark II which acts similarly to the default preset in many other RAW developers. In other words, it’s not intended to directly mimic the straight out of camera JPGs. But it should be good enough to export usable JPGs if you need them quickly, and it will act as a starting point for more advanced editing when you have more time to devote to it.
With minor tweaks, my preset could easily be used on RAWs from any of Olympus’ 16 megapixel cameras.
In my next post, I’ll take you through exactly how I did that, and share the preset for download.

Leave a comment