In my last post, I shared the workflow I use when preparing one of my photos for autopainting. In this post, I’ll share the very different results achieved by four different autopainting applications on Windows – and also my own final version of the same painting.
My own final version combines multiple approaches, layered and blended in Affinity Studio. All other versions use presets which are built into the various applications. In practice, these presets can be tweaked and improved to your own preference but here I’ve used the original unedited presets, with the intention of illustrating the main differences between the various programmes.
Of course, tweaking the presets to achieve your own unique result is half of the fun, and that’s what is shown in the final result.
Version 1 – FotoSketcher 4
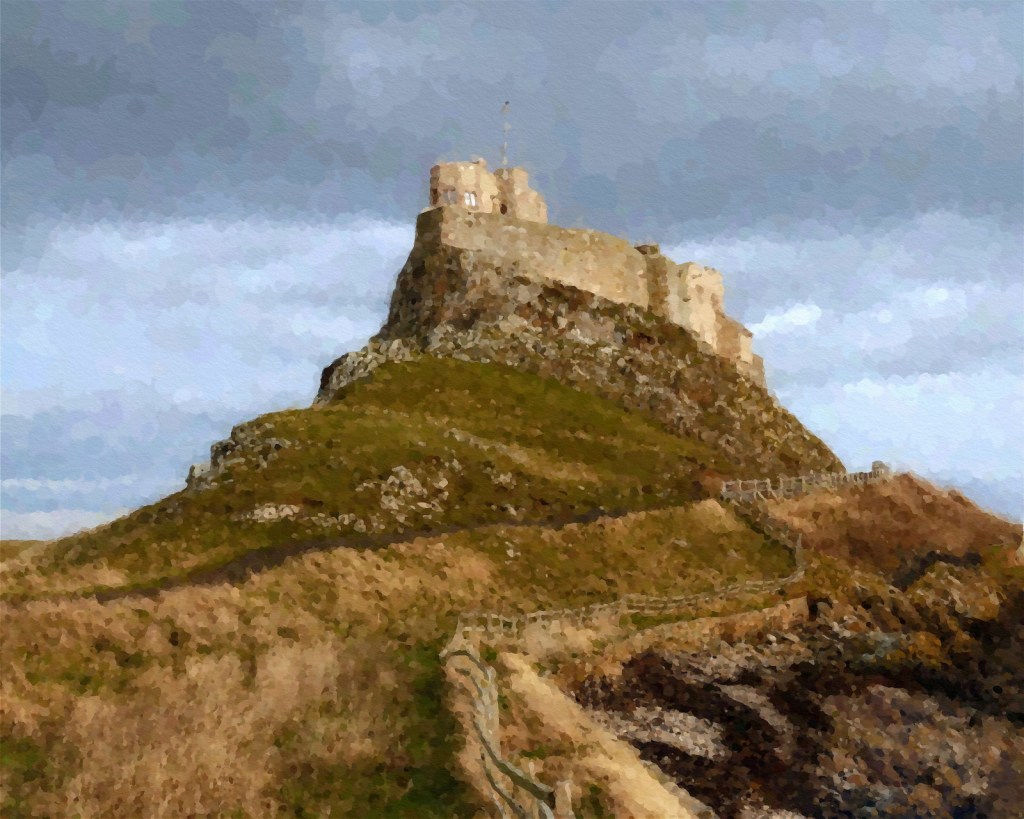
This is my favourite of the autopainted versions. It’s especially impressive when you consider that FotoSketcher is completely free. The watercolour effect is a little understated, but of course that’s easily remedied if you spend some time adjusting the preset to your taste.
Preset used – Watercolor
Version 2 – Jixipix Watercolor Studio Pro
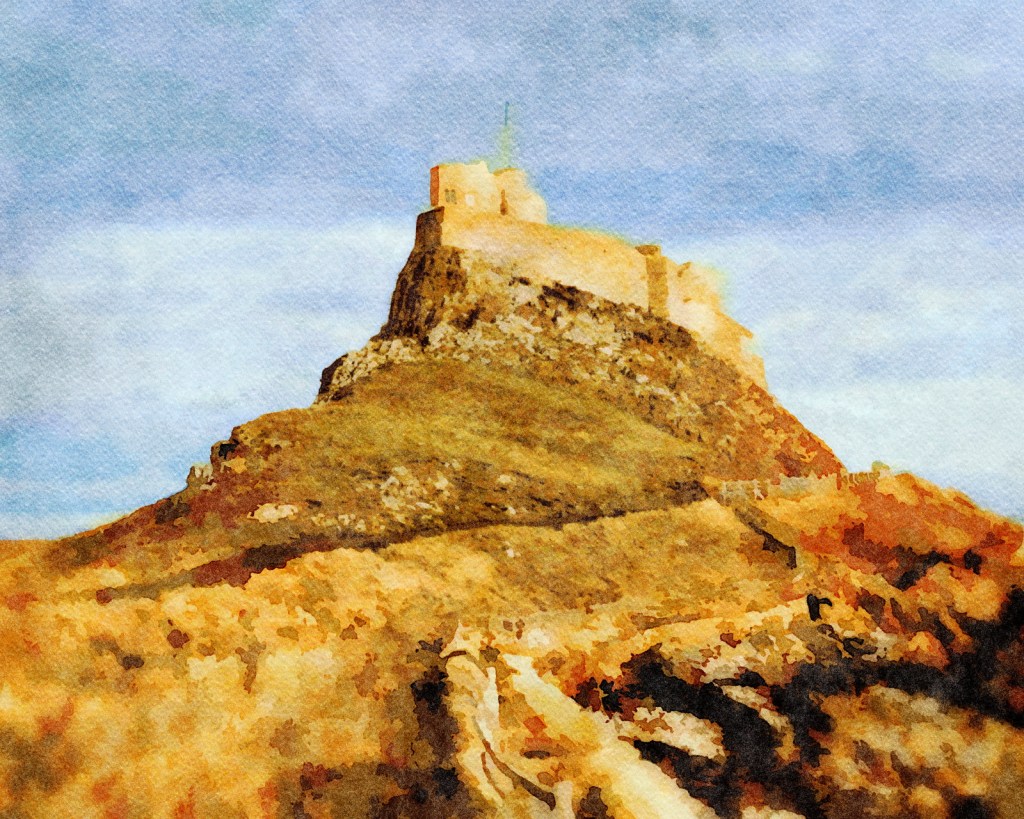
This version has a lovely texture and the sky is particularly effective. The landscape is too bright but again, this could easily be tamed by adjusting the colour options within the programme.
Preset used – Landscape 01
Version 3 – Dynamic Auto Painter 7
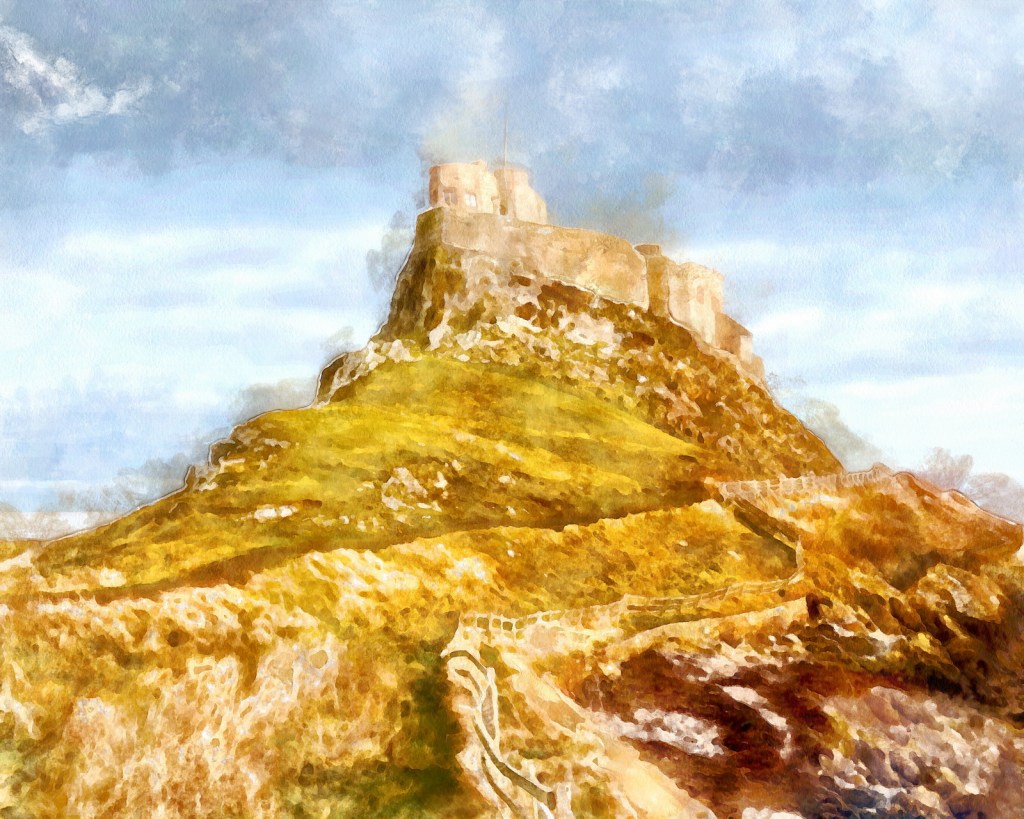
Dynamic Auto Painter is my go-to for this sort of work. I think FotoSketcher has edged it this time for “out of the box results”, but this version has a more hand-painted feel.
Preset – Textured Aqua Real
Version 4 – SnapArt 4
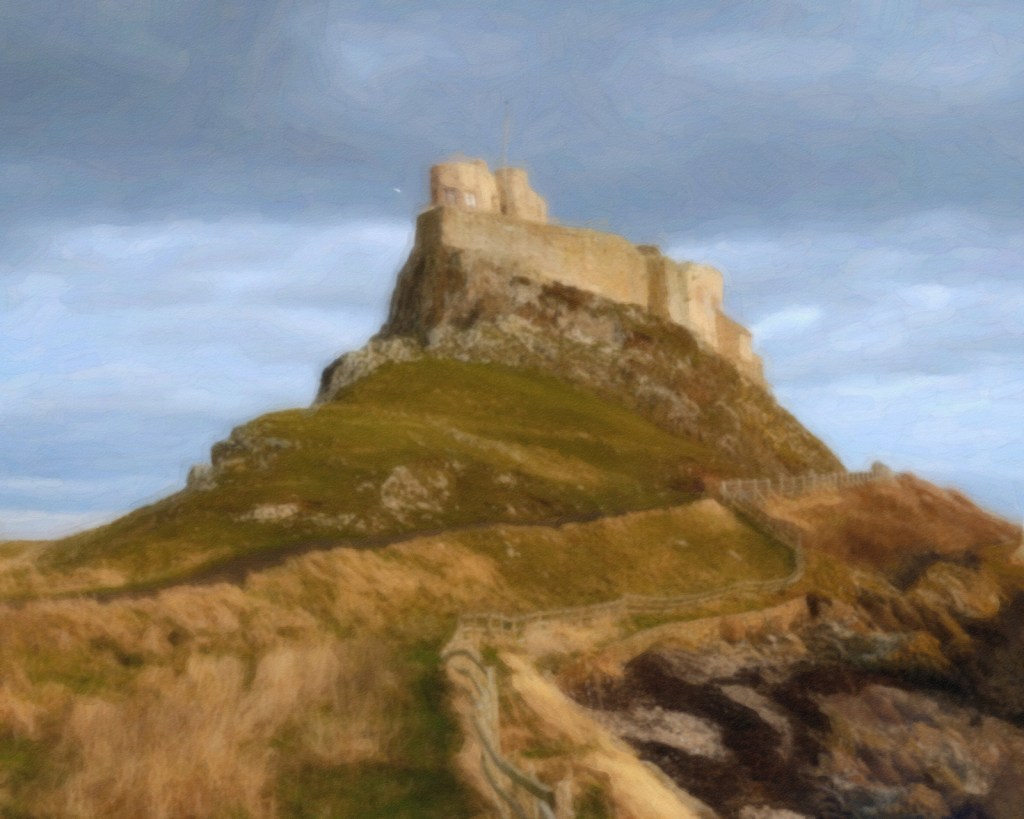
SnapArt 4 is probably the oldest application in use here. It was launched in 2013, which makes it positively ancient. There are advantages to that – it runs snappily even on my ageing laptop and is a good choice for very quick conversions. But there are relatively few watercolour presets, and this output would need a lot of tweaking to achieve the look I’m aiming for.
Preset – Watercolor Detailed
Version 5 – my version
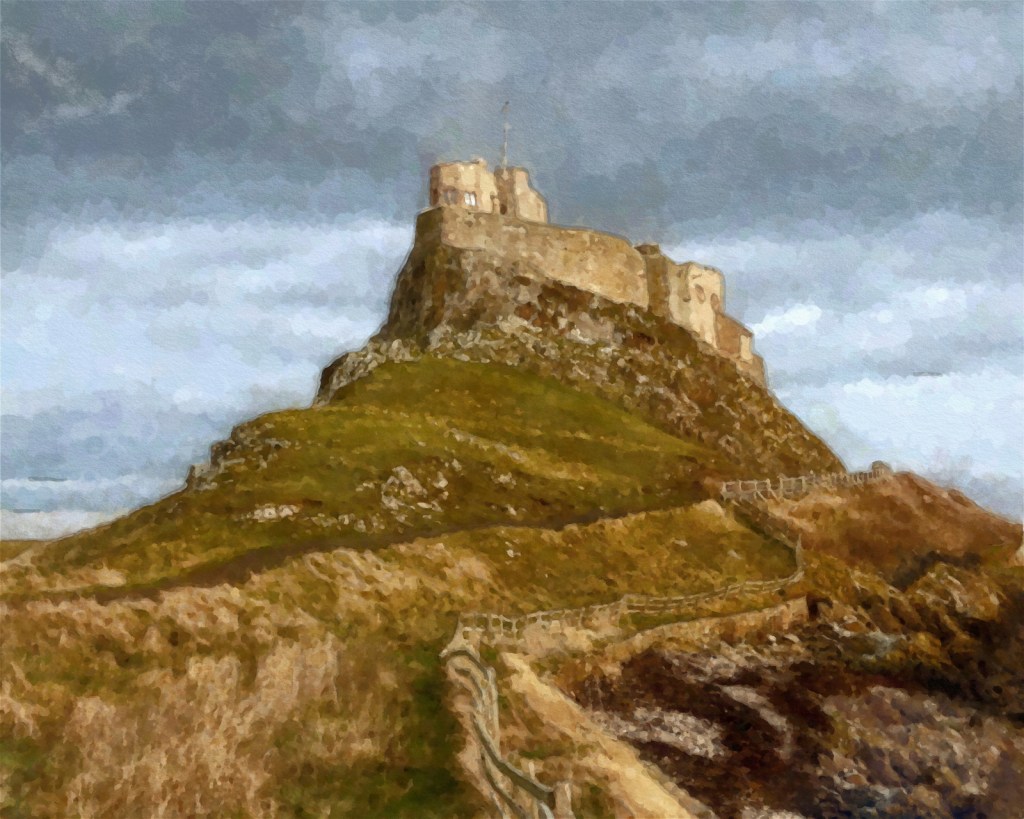
This is my own version, reworked by layering multiple versions in Affinity Studio and adjusting the output using transparency and blend modes. There’s some further work too – colour grading, curves adjustments, and filter effects – particularly around the hard edges. I’m not trying to fool anyone that this is a real watercolour, but I hope it doesn’t look like I’ve just selected a preset and decided “that’s good enough”.
And that’s probably the conclusion to take away from this exercise – all four applications are capable of producing good results. But the enjoyment, the creativity, really begins when I take the autopainted versions and start reworking them to fit my vision. Much like photography, really. Snapshots are great – but your photography really starts to improve once you start planning what you want the final result to look like.
 My Camera Stories
Leave a comment